 Unfortunately, pouring concrete means water. LOTS of water. As the concrete cures, this water evaporates and goes into the room air. All doors and windows expanded enough they're a bear to open and close now. One door was so bad my dad hacked up the trim with a chisel - the very first salvage door we'd installed... that's going to be a lot of work with a rabbet plane and wood putty! *sigh*
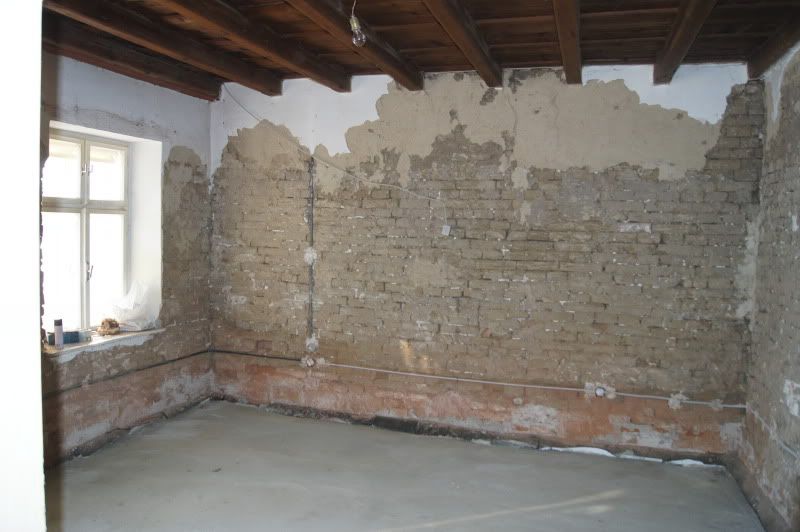
He also fixed the trouble wall in the small room and I got all the remaining plaster down. Now the only room that still has plaster is the front hall and that's original plaster. Oh, and of course the leftovers in the big room (see photo)... at least the cement is gone.
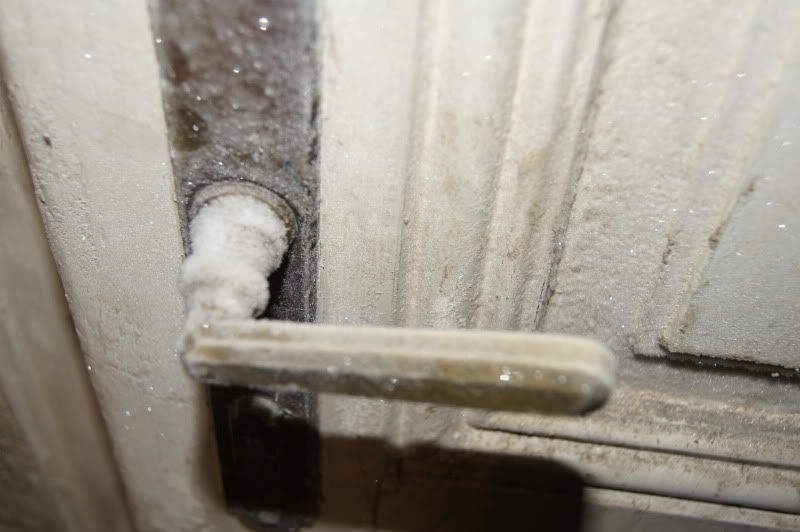 One result of the extremely moist air and cold temperatures outside was that we could easily find cold spots without a thermography - all cold spots were frozen solid! Such as this door handle (and for that matter the whole door)...
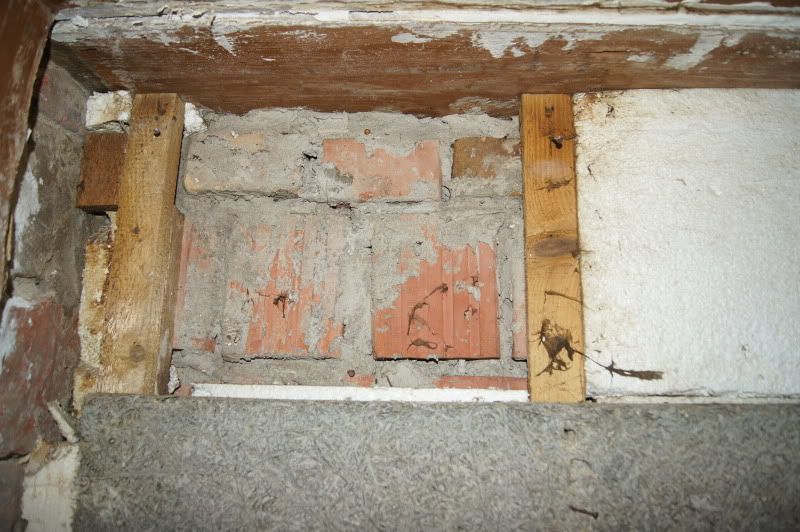 In the small room the POs closed up an exterior door and installed a built-in bookshelf where it used to be. We were quite suspicious of it since small pieces of styrofoam kept coming out through gaps in the beadboard... that reminded us of the ant invasion in the garden hut and prompted us to take down the beadboard (cheap 70s stuff). We didn't find any ants or other unwanted inhabitants, but we did find some seriously creative attempts to insulate the space. The first layer behind the wood is Heraklith, magnesite-bound wood shavings. Not too much of an R value. Any gaps between the Heraklith and the surrounding brickwork were filled with... you guessed it... 1976 newspapers! Or actually magazines. Behind the Heraklith we found a layer of 25mm styrofoam and wood slats. The brickwork behind the styrofoam was (again) frozen solid. Moisture condensing behind insulation is something you absolutely don't want! So we have to find some creative way to improve this. Maybe we'll even end up bricking up the whole opening, don't know. That's about it until it gets considerably warmer! The we need to get the plumber to finish the hot/cold plumbing and start on the gas lines (we have to trench the walls for the gas lines first) and we have to do the drains (WC sink, bathroom sink, kitchen sink and boiler condensate drain). Then it's wiring and door frame building/installation and we might be ready for plaster... no wait, there's still the window issue... *sigh*
BTW, I got a first bid for replacing the rotted casements in the bathroom. €250 PER casement! That means at least €500 if we can save the outers, €1000 if we can't and even more if the frame is gone too. For €1500 we could get complete new windows, near-perfect reproductions with triple glazing (inners double pane glass, outers traditional plate glass). This was just a local carpenter I happened to ask though, we still hope for better bids.