Eventually I decided to take a break and do something else. What could be better for getting rid of frustration than some good old fashioned destruction? So I grabbed the electric hammer and chipped away at the cement plaster in the small room which needs to go - it's seriously bumpy, the surface is rough (apparently they couldn't be bothered using a finish coat, so they just troweled the base coat which is pretty coarse) and I don't care for scraping my skin when I happen to brush along a wall.
The wall across the door is the worst. The clay bricks disintegrate (actually some animals built burrows in there as though it were soil!) and the wall is moist. Cement plaster is awfully close to waterproof, so any moisture that got into the walls prior to the damp-proof course install was trapped. Probably that was actually the original intent, keep the room dry (it actually worked, this room never had any real musty smell), but apparently the 1970s construction guys didn't realise that this would ruin the walls - some of the clay bricks just crumble away. This will need extensive brickwork repair. On this wall the plaster is reinforced with chicken wire which makes demolition even harder. I did get the whole bottom section cleared out which is all I can do before the first stage of brick repair. Apparently the wall was in bad shape even before it was covered up with cement as the bottom was covered with a layer of upright bricks (I guess the front of the original clay bricks had just crumbled away). Whoever did that overdid it though and made the bottom part of the wall protrude - that's why the plaster job is so terrible here. The original walls seem to have been as flat, plumb and level as any old house gets, but subsequent "repairs" made them look like random field stone walls. On one hand I actually like that bumpy look, on the other hand I think it might be handier to get the walls closer to their original state again. The patches didn't hold up anyway, the cement plaster pulled them down in a death grip.
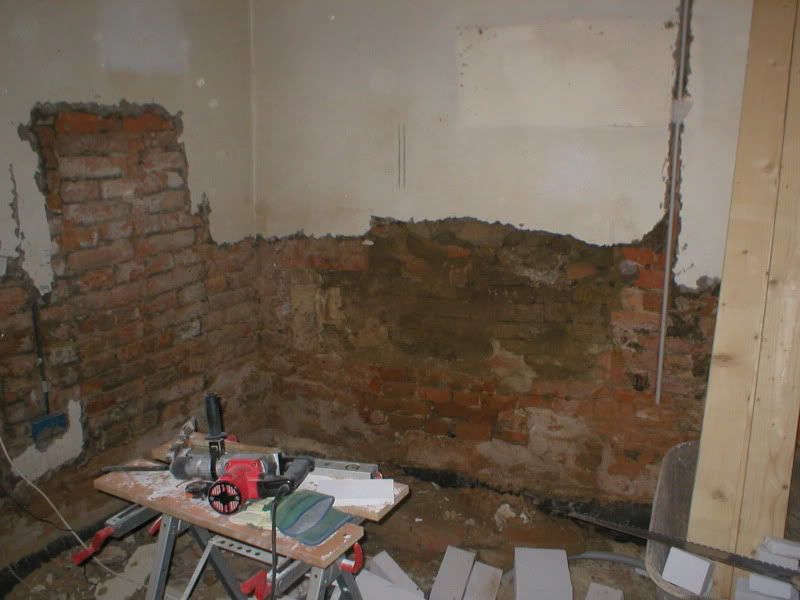
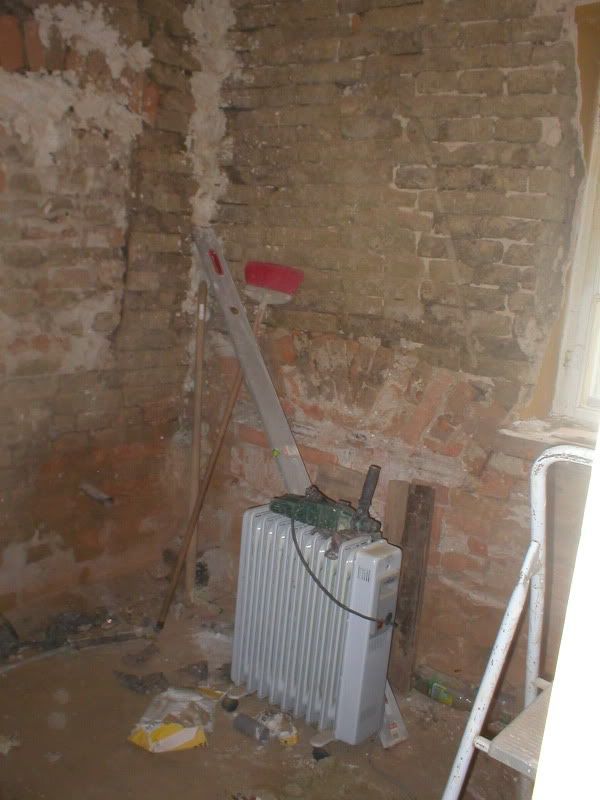
The exterior wall (left) has already been repaired or rebuilt using real brick so it didn't suffer any real damage, it just needs to dry out. We were told by several people that there had been a second entrance on that wall but opinions on the exact location differed. The bathroom window has already been ruled out, while it doesn't appear to be original it definitely wasn't a door - there is original adobe brickwork below. The small room seemed more likely for several reasons. A) if the back two rooms were once a separate "apartment" this would likely have been the kitchen and an entrance into the kitchen makes more sense than into the living/bedroom. B) The window is squeezed into a corner which looks really odd - however, if there were a door next to it it would look perfectly normal! C) the side alley slopes towards the street. The bathroom is above grade, whereas the small room is pretty much at grade level. Whacking down the plaster confirmed my suspicions.
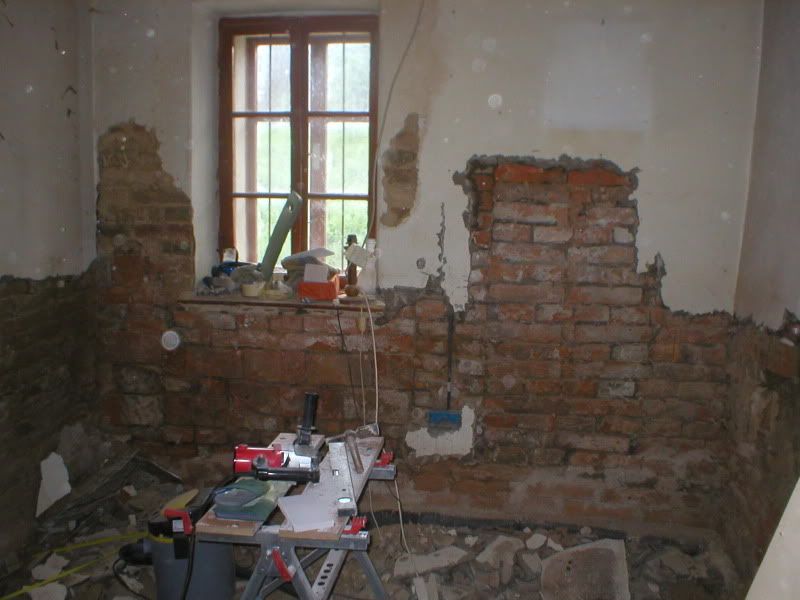
You can see a straight joint run vertically to the right of that outlet box. It's weird to see how that outlet would be perfectly centred between the door and window if there were a door, even though the door can't have been there any more when the socket was installed!
Where the exterior wall meets the bathroom wall on the right the plaster had a big crack ever since the damp-proof course was installed. Now I know why. When I got close to that wall the leverage of the hard plaster made that interior wall move! Basically it's no longer connected to the exterior wall and pretty wobbly. While the bathroom side of the adobe bricks still looks pretty good, this side suffered and is crumbling. More masonry repair! Worst case we can still take down that section of wall (it's not load-bearing) and rebuild it.
Next to the window you can see some discoloured plaster. This is where they left the older lime plaster in place. Now for some odd reason moisture condensates on this part of the wall in winter (and only on this section) and of course stains the surface. Seeing this actually got us to remove the entire plaster here (for the purists who cringe at reading that (I definitely would if I did without any background info): NONE of the plaster in this room was original! The lime plaster is probably 1930s or something like that and the cement plaster is 1976. We are going to replace all this plaster, either with lime or clay plaster, so in the end it's going to be more original than before).
Pretty early on I suddenly saw the chisel fall and hit the floor. Initially I suspected a faulty SDS+ chuck but in fact the chisel had snapped right off! The break is perfectly smooth, almost like a saw cut and I suspect a production fault (this wasn't exactly a quality tool). Getting the broken chisel out just by gravity (i.e. releasing the chuck holding the machine upside down) didn't work, so I put it aside and used the other hammer, a dirt cheap Chinese Hitachi ripoff (in fact I think they bought the rights for a 1970s design and just kept building it forever, these things are heavy but lack a few core features - they are not designed for continuous operation, so you have to hold the trigger all the time and you can't lock the chisel - you can turn off the motor but the chisel will twist on its own so you occasionally have to bring it back into the ideal operating position which is annoying). When I finally called it a day I took the good Bosch hammer to a nicer place (my grandmother's house across the street) where I could sit down and surgically remove the chisel remnants under good light. I ended up pushing two small flat screwdrivers into the grooves of the bit, then squeezing them together (needle nose pliers were too big to get in there).
The next day we went back to the wall. We could actually borrow a proper saw designed for that purpose (with very big, hardened teeth) which sped up things considerably. We are ALMOST done.
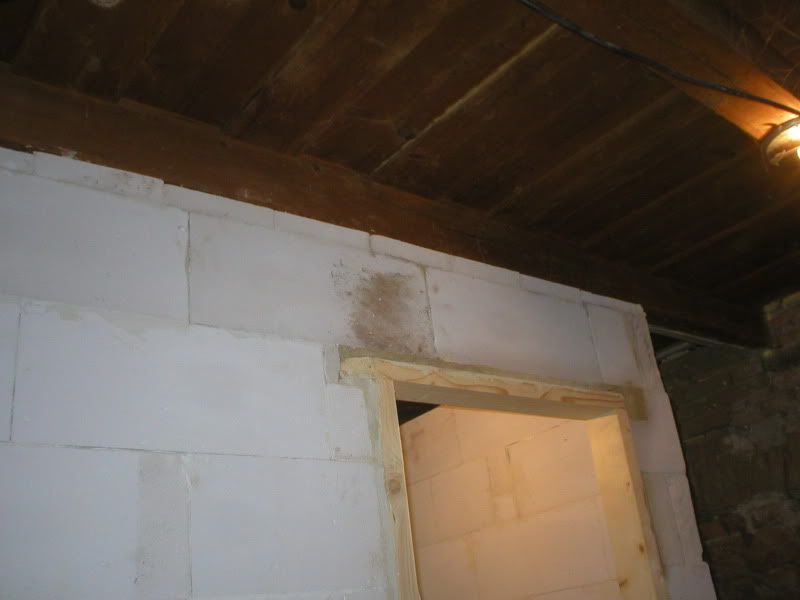 This section between hallway and bathroom (looking through the doorway into the bathroom) is done.
The section above the WC door is almost done, the two top right blocks are cut to size but not yet mortared. That's about 5-10 minutes of work though.
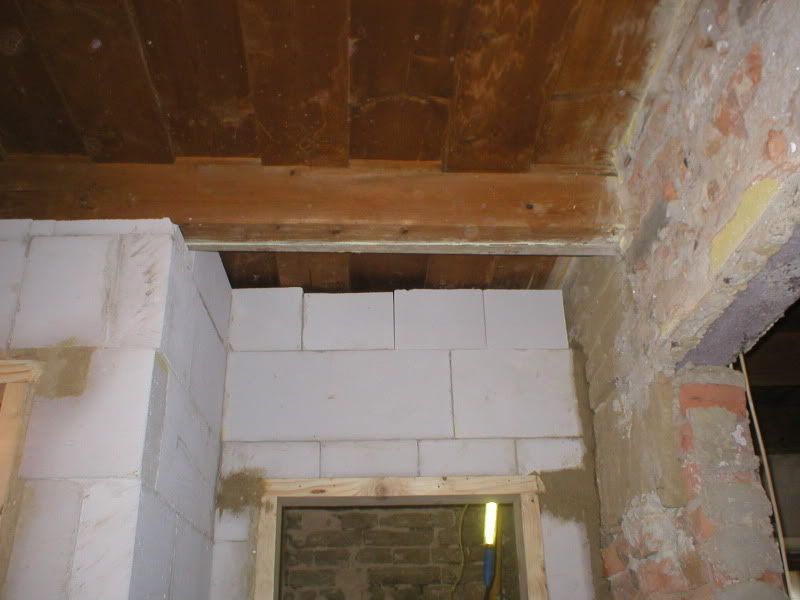
Between the bathroom and WC there are another 2 blocks missing that need to be cut but in total we'Re very close to getting done. We still need to tie up some loose ends on the drains, but then the concrete subfloor can go in! (right now the whole house has dirt floors except for a leftover section of plank flooring in the big room).
Then it's time for plumbing and wiring!
Looking into the bathroom:
The window can be seen at the far right side of the picture. Tub is going in along the left-hand wall, sink between tub and window. Before any of that can happen a lot of work has to be done.