Yes, I am still alive... even though I didn't post for ages.
First a reference to the last post. Actually we don't have much more than 10m2 (about 100 sq. ft.) of flooring, but with what we alredy had and what we might be able to get it'll hopefully enough - or maybe we can do the whole back hall with it. Once we get to it.
Plumber #2 came for an estimate in mid June. In October he sent an e-mail with a few questions which I answered promptly. So far we didn't get anything.
Around the same time, plumber #3 came in for an estimate. In mid-December he called and asked if we needed the work to get done before Christmas which we declined. Nothing from him so far either. We mostly liked that guy, so we still might take his services.
The two biggest changes so far: all floors are out (with the exception of half the big room) and we had the walls cut through (which more or less required removing the floors).
Here is the full fun story:
After endless discussions we got an estimate from the only company in the whole half of the country that hammers corrugated stainless steel sheets into the wall. Most people claimed that this method is perfect for adobe houses and all others will crack the walls. When we had already told them to do the work (only on the phone though, so no problem canceling that) several people told us to call another guy, including my architect uncle, who had him do his own house and is happy with the results some 10 years later. So we did and made an appointment. The guy was very nice (and nowhere near as pushy and sleek as the stainless steel guy) and really seemed to know what he was talking about. He mentioned the obvious fact, that corrugated steel sheets won't really line up and form a proper seal in the corners... and his offer was better than the first one.
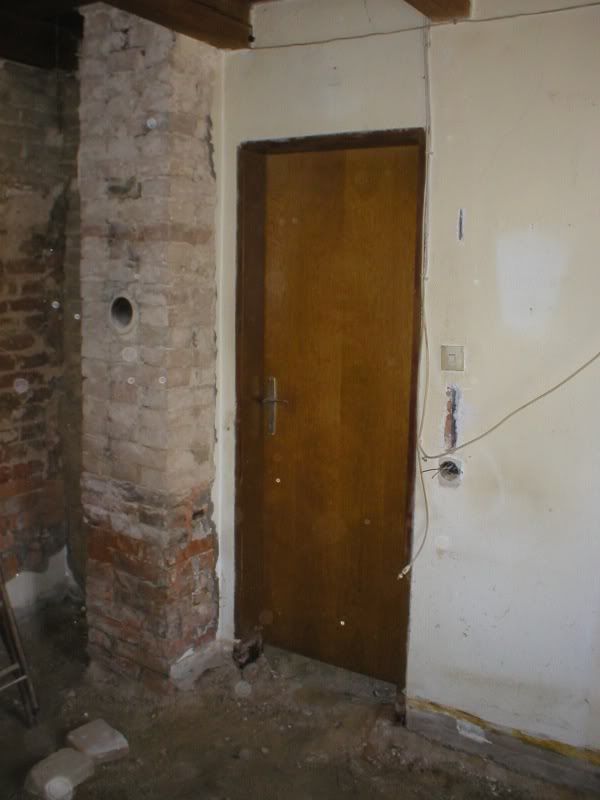
All rooms renovated by the previous owners (i.e. back hall, bathroom and small room) as well as the front hall had solid poured concrete floors, tiled in the bathroom, covered with loose roll vinyl in the back hall and small room and bare in the front hall. Apparently the front hall concrete was intended to be a finished floor (*gag*) and pretty high up, no way of putting a finished floor on top, except vinyl or carpet (in fact it was even considerably higher than the floor in both the kitchen and big room). The back hall had a 2" step in the middle of the floor to accomodate an inwards opening door in an otherwise higher floor - talk about a tripping hazard! The back room floor was even worse - almost 6" higher than the higher part of the back hall floor. So all those floors had to go.
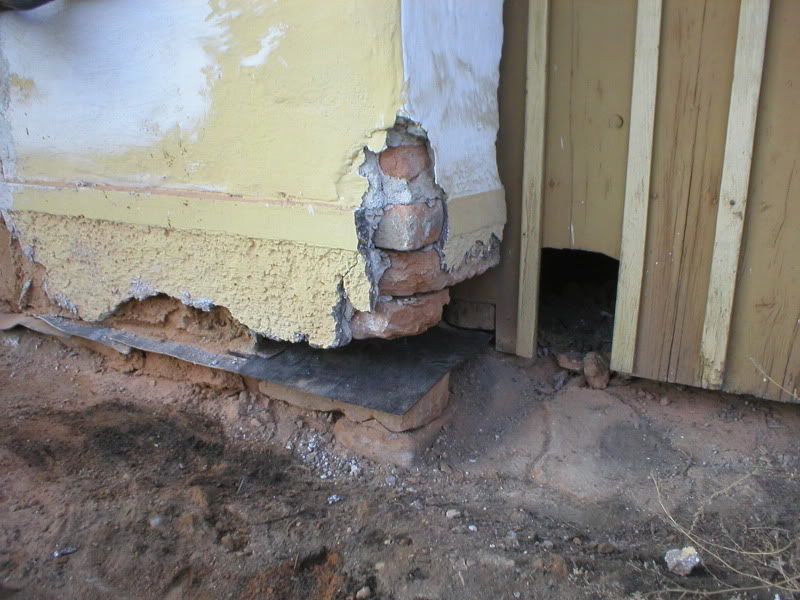
The wall between bathroom and back hall was built onto said concrete floor and had to go, with the additional advantage of giving us the chance to enlarge the bathroom by about 6", giving us the chance of rotating the tub 90 degrees and build a separate water closet around the current toilet.
Out came the sledge hammer. The wall put up a serious fight. It had been built in 1976 to split a bedroom into back hall and bathroom and consisted of some odd breeze block, hollow concrete blocks mixed with small brick splinters for volume. Taking it down took us the better part of two days, lots of cursing and a bruised and scratched elbow on my side (wanted to take a big blow with the hammer, moved my arm backwards and hit the wall), nothing serious though.
We ended up with some galvanized plumbing hanging in mid-air *g*
Then we proceeded to gut the plaster as long as we had the floors, they did make cleanup a lot easier. In the small room we gave up - the better part of 3 walls is cement plaster (aka concrete) reinforced with chicken wire. Purists are going to scream here, but let me calm you down! This house is 130 years old (parts perhaps older) and has been altered and renovated so many times it's impossible to tell which parts are original and which aren't. Since creeping damp has always been an issue, plaster was repaired and replaced continuously throughout the house's history and is a mishmash of at least 4 different types.
- mud plaster. Only remains in modest patches in bad shape with the exception of the front hall, where we kept it on 3 walls. The way it was originally done.
- bad lime plaster, crumbling away, perhaps 1930s.
- very hard lime plaster, which unfortunately didn't adhere to the adobe brick and came tumbling down in huge sheets.
- cement plaster, which needs to go since the walls are badly damaged behind and need to dry out.
That means we gutted all plaster with the exception of the two long walls of the front hall (and the tiny one above the back door) and the small room, where we just didn't get off our lazy butts so far to remove the concrete completely.
Then we started to attack the concrete. The most common way to build a floor here (in modern construction) is to pour some kind of concrete, either a slab or a load-bearing ceiling, with insulation, perhaps radiant underfloor heating and another layer of conrete, the screed on top. The screed is usually 5-7.5cm (2-3") thick and never reinforced. The finish floors are laid on top of the screed - tile, carpet or vinyl usually glued, engineered hardwood or laminate installed floating. In older houses with strip foundations, the screed is usually poured directly on the dirt between the load-bearing walls during extensive renovations and that's what we had.
In order to be able to get rid of the debris in wheelbarrows we started with the small room. The screed was unusually thick (roughly 10-15cm/4-6") and hard. Underneath we found plastic, mineral wool insulation (stupid, the soft battens can't take the weight of the concrete) and what we thought dirt. Towards the window, the screed got thicker and thicker, but finally we had it out. Then we wrapped the insulation into the plastic (did you ever work wearing rubber gloves in 30+C weather? The gloves just fill up with sweat!) and hauled it out into the yard. At that time we realized our mistake. The stuff underneath wasn't dirt but tar paper. And underneath the tar paper we found... another screed! This one was worse - while some spots were barely more than 1cm thick and crumbled away, others went up to 20cm (8")! At that point we imitated the PO's handyman: "Hey, we got a hole! Gimme concrete!"
Then we had a gaping hole underneath the door.
(This was the last g(l)ory shot before we trashed that 1976 hollow core door with aluminum hardware and rusted steel frame).
Removing the water heater in the bathroom we discovered that the bathroom floor sloped in every direction, but NOT towards the floor drain. Ingenious! The bathroom/hall floor went considerably faster, mainly because there was loose sand underneath, which made it much easier to crack the screed. Unfortunately, the screws holding the toilet bowl were completely rusted and didn't move- Our careful attempt to separate it from the floor broke it. Norally I wouldn't mind, a new bowl is close to free, but this one was extra tall, which is €129 new. Oh well...
Because the front hall floor was 2cm higher than all other floors (2cm is the standard thickness for most older flooring) I suspected concrete over an old floor. That wasn't the case though - ca. 10cm screed over dirt. Extremely awful to remove. To make matters worse, I had a cold when we did it and every blow of the hammer transferred directly to my head. Not good. My brothers and my dad (after all, it's a family house and not mine) did a lot of work too though.
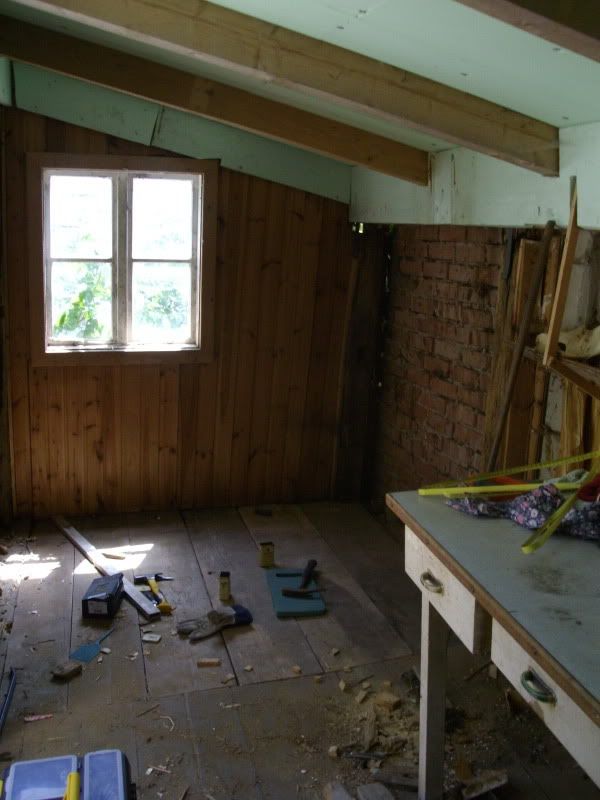
For the wall cutting process we needed to remove 2 boards of the kitchen floor, a beautiful wide plank pine floor, one of the main selling points. Unfortunately we find it extremly worn (some of the boards are down to half their thickness) so we remove it altogether and hope to replace it with a salvaged floor. The sleepers in the dirt underneath (we expected 5x8cm/2x3") were a whopping 10x10cm (4x4) but some were soft like bath sponges. Wet rot.
Then we proceeded to remove some floor boards in the big room (less worn wide plank floor). Unfortunately it was completely rotted and woodworm-eaten near the front, so we removed more and more. ABout half the room appears to be shot.
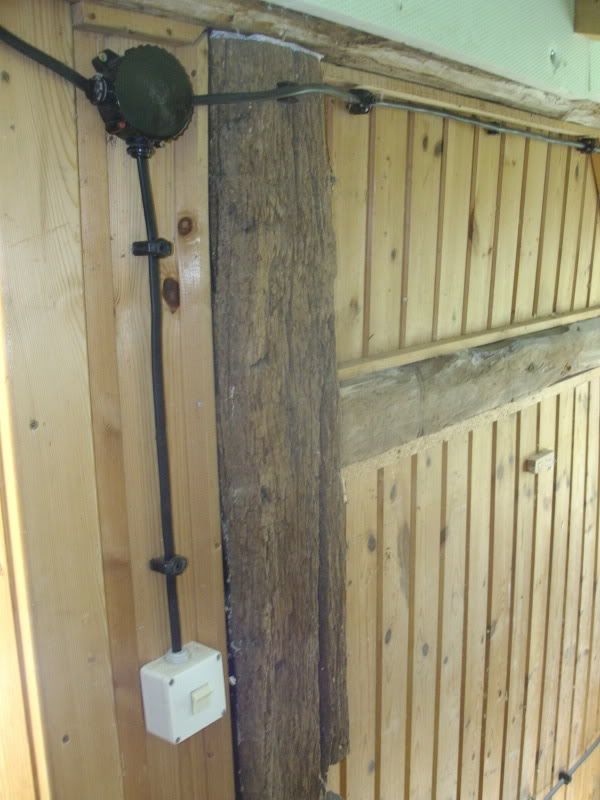
I'm going to dedicate a few more catch-up posts on wall cutting (in full detail), wiring and other small items over the next few days.
 When we first got in there I supported it with a stack of paperbacks, but it was clear it had to go. So we piled the books into boxes, ripped down the shelves (no tools required, 5 minutes of work) and cleared out the whole shack, again piling up lots of trash.
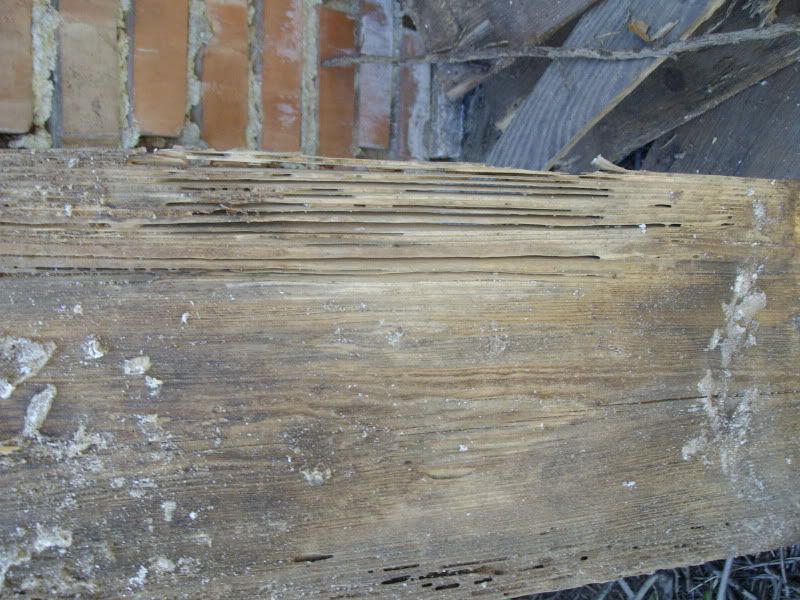
 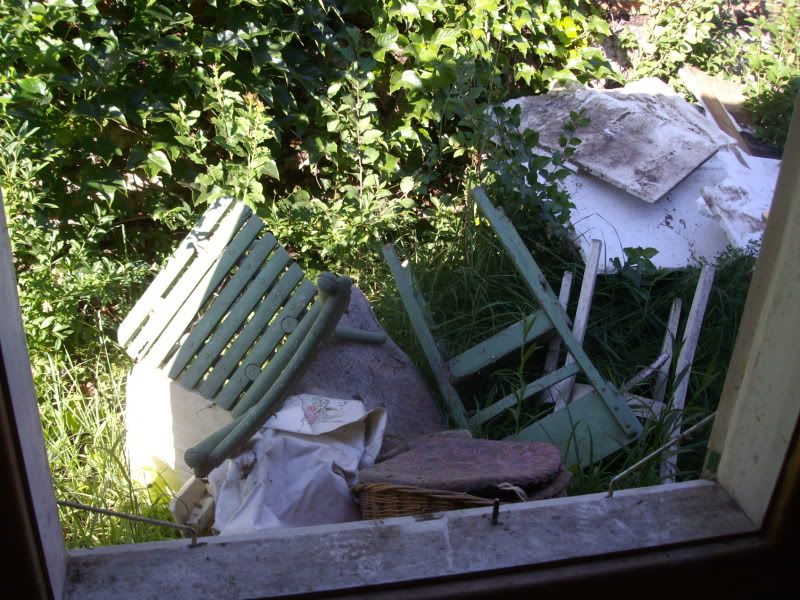 The shack odd shaped due to the long and narrow garden, 2m long and 4m wide, built along the fence. The fence is actually a tall brick wall which also served as one exterior wall of the shack. This contraption had been built in ca. 1990 using the leftovers of a garden shed, 2/3 of which were just open and 1/3 with a wooden plank rear wall (between the planks and the brick wall there was a 10cm gap). The exposed section of the brick wall had been covered with rigid foam insulation and wallpapered, with paper looking like knotty pine paneling. The remaining third had the sheets of insulation just stuffed in between the brick and plank wall and the plank wall covered with tar paper and pine paneling. This was below the roof leak so we decided to remove the whole shebang. A great idea! Everything was rotted and there were thousands of ants living in the planks and the foam sheets! The planks actually had the soft part of the grain eaten out!